Hi, I'm Georgia
A Wedding and Family Photographer based in Somerset. Helping to capture memories and milestones through fun and relaxed photograph sessions is what it's all about. Telling your story with laughter, cuddles and genuine connection.
Thank you!
That should be on it's way to your inbox right now.
Join the Mailing List
Maternity Photography
Newborn Photography
Wedding Photography Brochure
Free Wedding Timeline PDF
Contact Form
Blog Categories
USeful Links
Family Photography
Wedding Photography
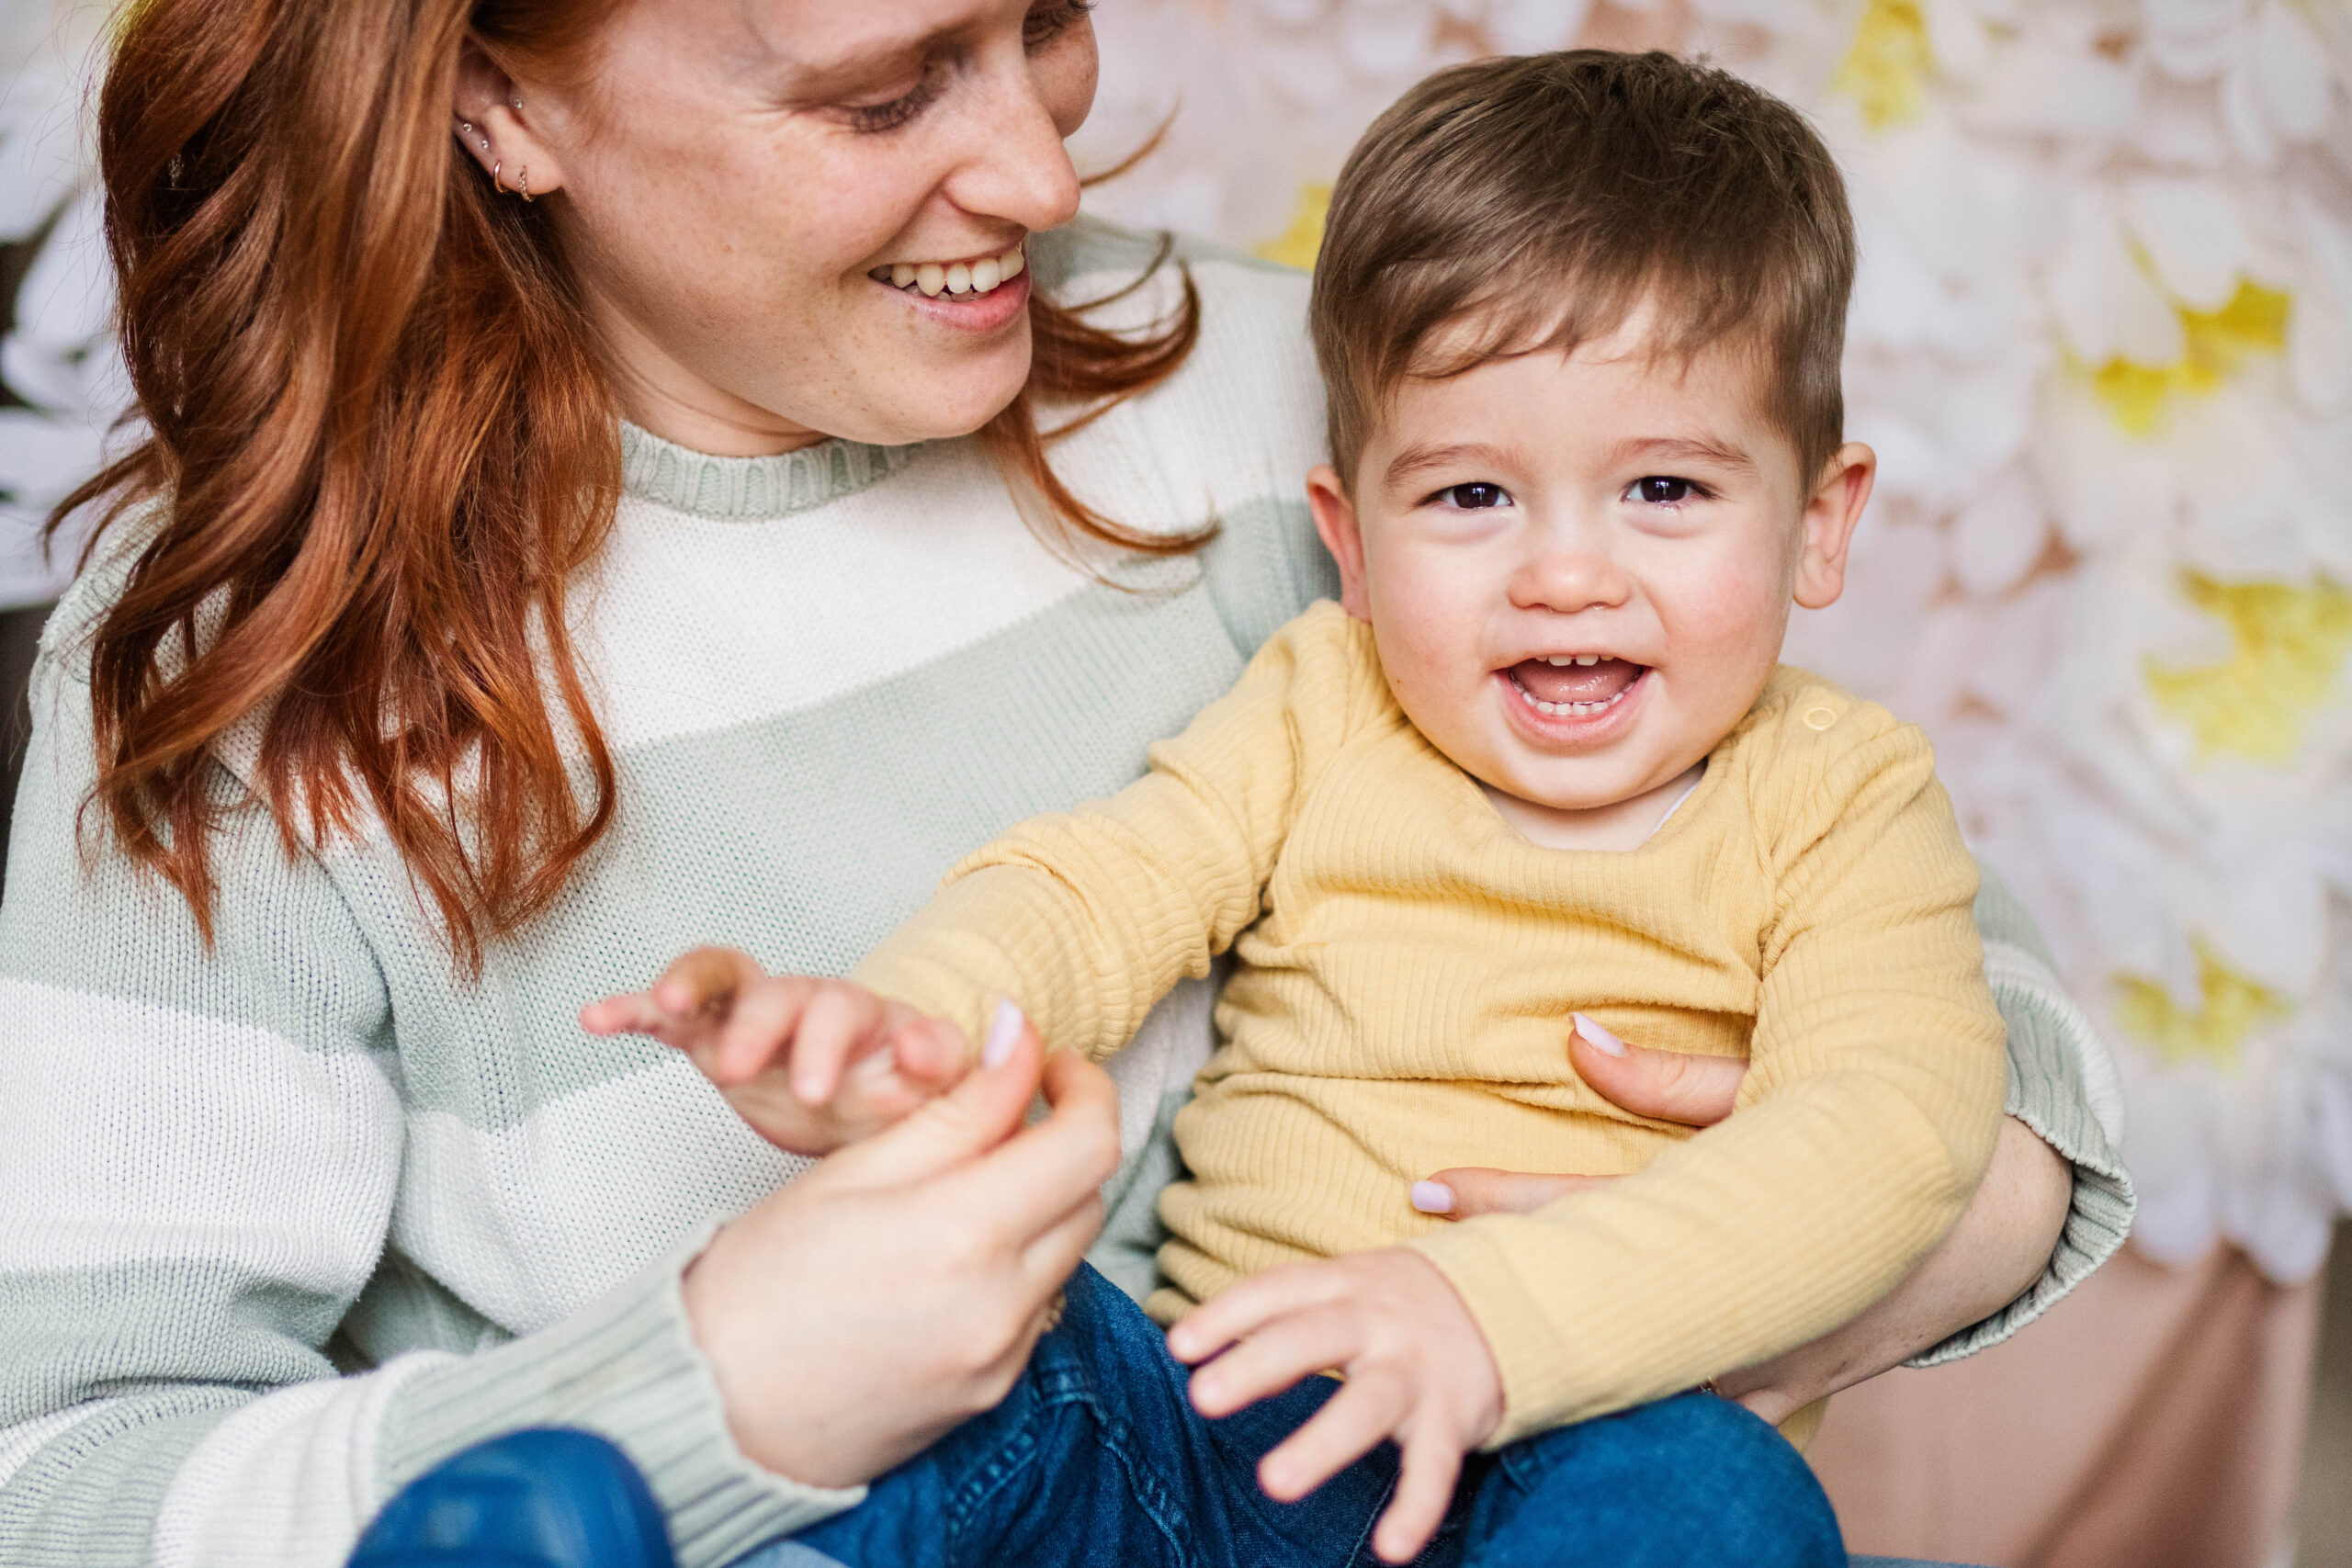
Capturing Childhood Magic: 10 Top Tips for Stunning Photos of your Kids
April 29, 2024
Welcome to my 10-step guide to capturing the magic of childhood through photography! Parents know all too well how quickly children grow and change, and photos are a brilliant way to keep track of those precious memories. In this post, I outline my top tips and techniques to help you take better photos of your kids. From understanding lighting and composition, to capturing genuine expressions and fleeting moments. Learn how to create stunning images that reflect the joy, innocence, and wonder of childhood. Read on to discover more or check out the video below where I share my tips with The Happy Parent Club on their monthly online workshop…
#1 Find the light
If you’ve ever got chatting to a photographer for any length of time you’ll have heard them banging on about light and how much it can affect an image. Now you may be thinking, well this sounds a bit over dramatic, especially in the 21st century when we have all these fabulous phones with cameras that can add flash and editing software to brighten and enhance. But, trust me when I say that taking a few simple steps to find good light can turn an OK photo into something incredible.
Firstly, when I say light, I’m talking about natural light. So, if you’re in your home and want to capture a beautiful photo, turn off any lamps and main overhead lights. Find a window or patio door that has the best natural light and position your children facing towards it. Try to avoid times of day when this light is very harsh and strong, instead aim for the softer, glowy light of early morning and early evening.
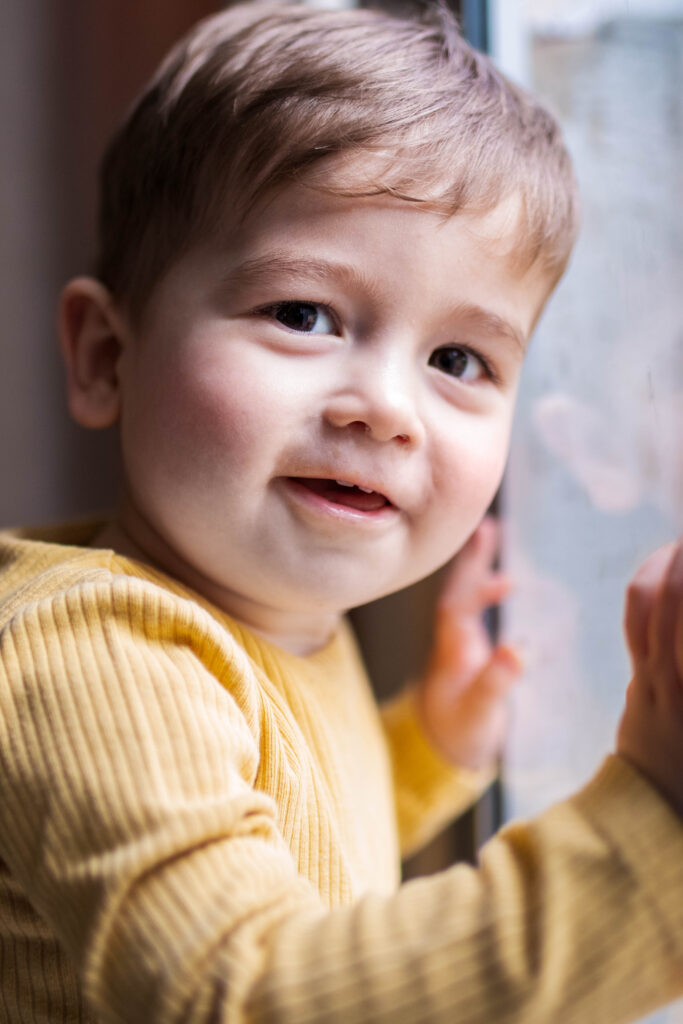
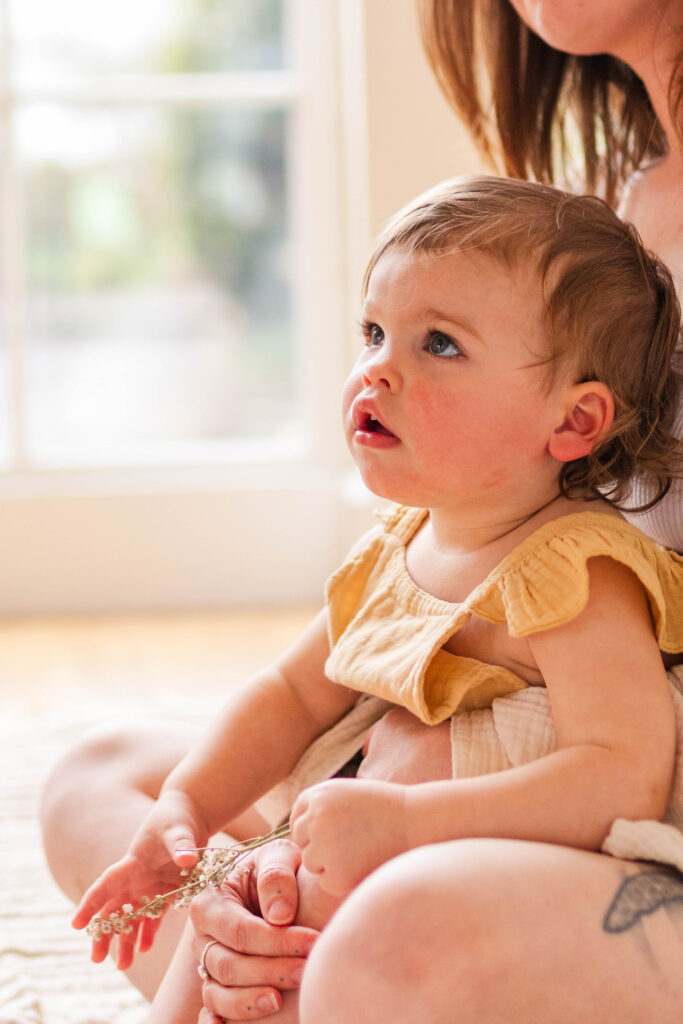
For outdoor photography the same rule applies. Many photographers avoid shooting in the middle of the day because the sun is right above your subject and creates harsh shadows, especially under the eyes. Instead, find a patch of shade under a tree, or beside a building, where children can stand or sit facing out towards the light – this will give you the best light on their faces.
#2 Basic composition
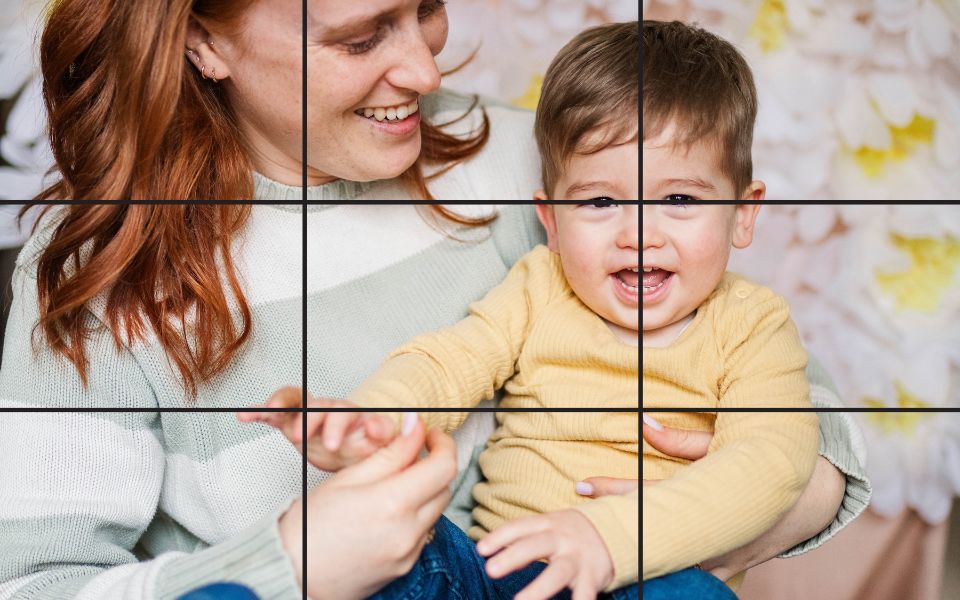
The second most important thing after light for a photographer is definitely composition. This means arranging the objects in the picture so they’re pleasing to the eye. Composition is an ancient concept used by artists, painters and sculptures for millenia, and more recently by filmmakers and advertising companies. When you master it, you’ll start to see it everywhere you look.
There are a couple of different rules, but the one that’s most commonly used is the rule of thirds. The idea is to imagine your image divided into thirds both vertically and horizontally, or 9 equal sections (a bit like a stretched game of noughts and crosses). The eye likes to see the main focus of an image either to the left or right third, leaving the rest more open or blank, this allows the eye to focus on the main subject without distraction.
#3 Shoot quickly and be patient
It may go without saying, but when photographing little ones, they very rarely stay still for you to catch the perfect shot. The best remedy for this is, of course, to shoot as quickly as possible. Whether you’re using your phone or a digital camera, you should be able to find a setting where you can take multiple shots in quick succession. These bursts or continuous shooting take the guesswork out of when to click the shutter, and allow you to go back through and select the best image later on. It’s so simple it feels like a cheat, but honestly all digital photographers use it.
Second on the list is the opposite approach – taking your time and being patient. It’s really easy to feel disappointed when your child has done something super cute or funny and you weren’t quick enough to catch it. What inevitably happens is you then try to prompt them to do it again, but they suddenly go all shy, the moment has gone and you put your camera away. However, from extensive personal experience I would argue it’s best to wait and not try too much to prompt. Instead simply give them time to repeat the reaction you’re looking for, whether it’s laughter, surprise or silliness. More often than not, children will repeat the thing you want to capture. So, have your camera ready and wait.
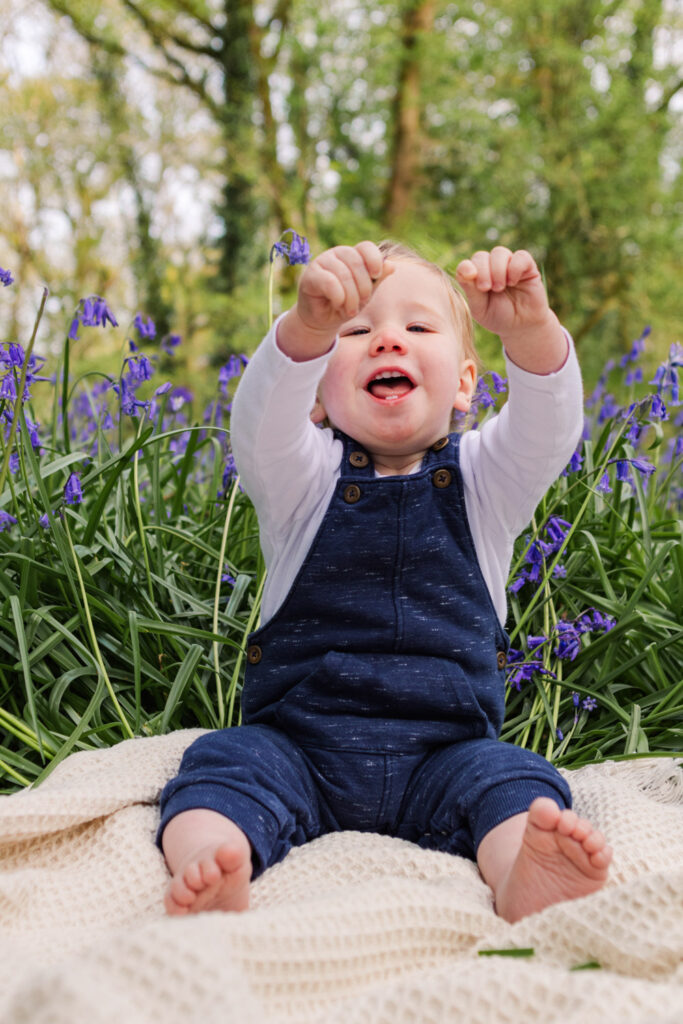
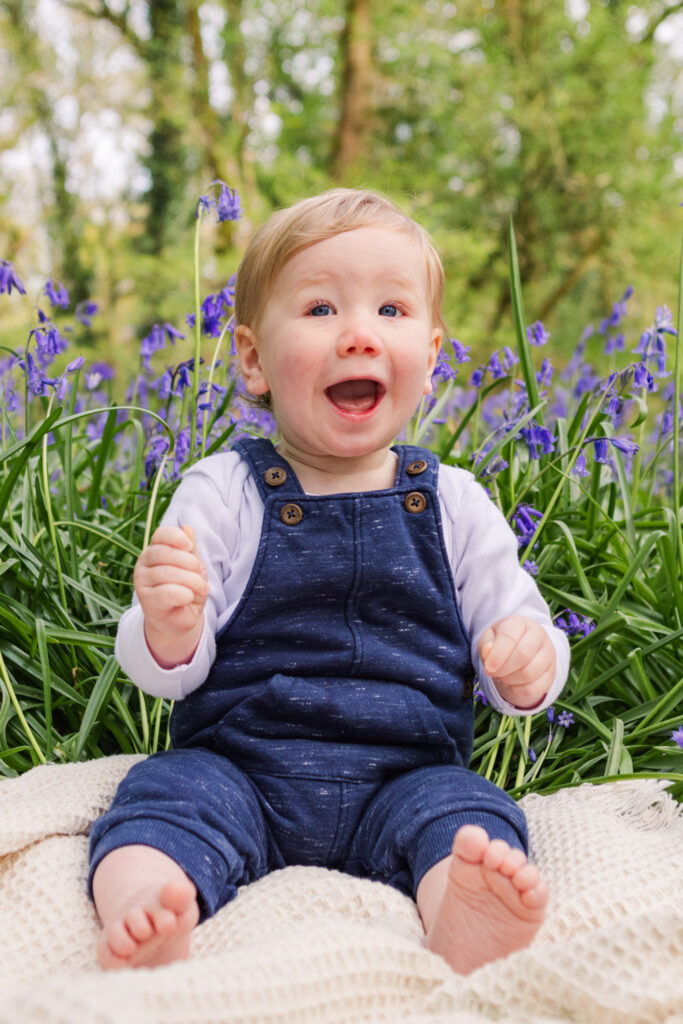
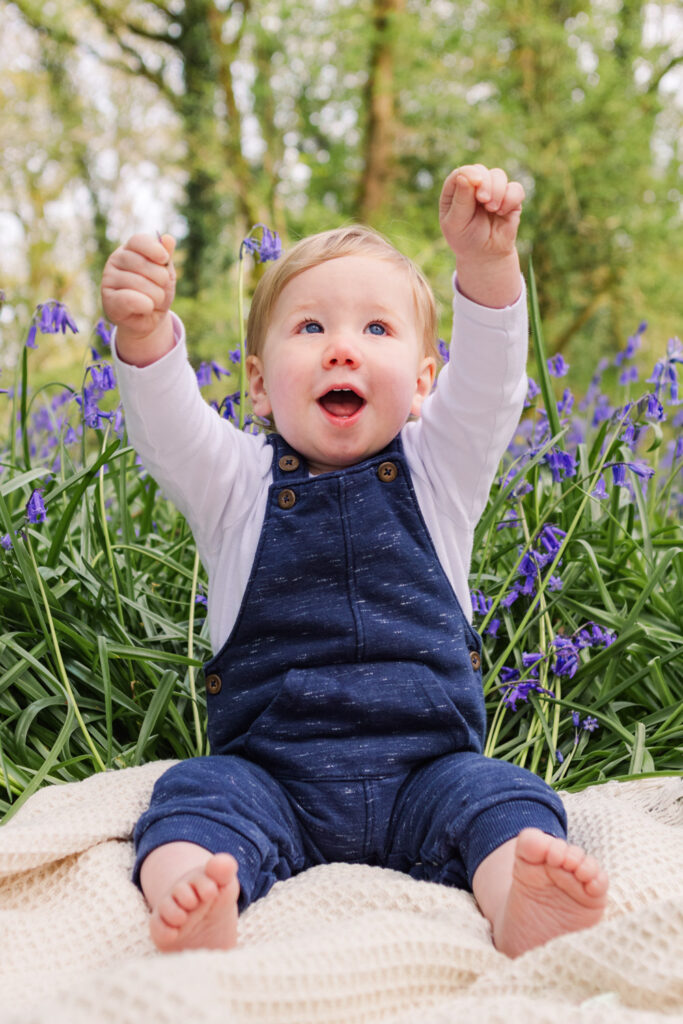
#4 Set up an activity or make it a game
Avoiding the manic grin can be tricky. I’m not sure when it starts, but there’s an age when children start to develop a sort of camera persona. Just the other day, I was photographing a little girl who half way through a session had a compulsion to hold her arms out in a strange manner, convinced that that was what would make the picture perfect. Alternatively, you may have a child who naturally has the most beautiful smile, but as soon as you hold a camera up, their face contorts into this super extreme, slightly painful looking grin. So, how to combat it? The fine art of distraction.
One option is to set up your child, or children, with an activity they love. Something that engrosses them and means you’re free to move around, snapping pictures to your heart’s content. I would suggest this is something creative or playful rather than screen time, as children often have a glazed expression when they’re watching TV.
Instead, you might want to play a game. For little ones, ‘peek-a-boo’ is a long standing favourite. But, for older ones you could try ‘Dizzy Dinosaurs’ – getting children to spin and twirl, ‘What’s the Time Mr Wolf?’ – where they have to turn and catch you moving, or ‘Musical Statues’ – play a song on your phone, then pause it and take a snap. Enlist the help of older siblings or other family members with tickling and telling jokes. The mere mention of farts and poops sends most kids into riots of laughter, so don’t be afraid to pull out the big guns, it’s all worth it for a beautiful shot.
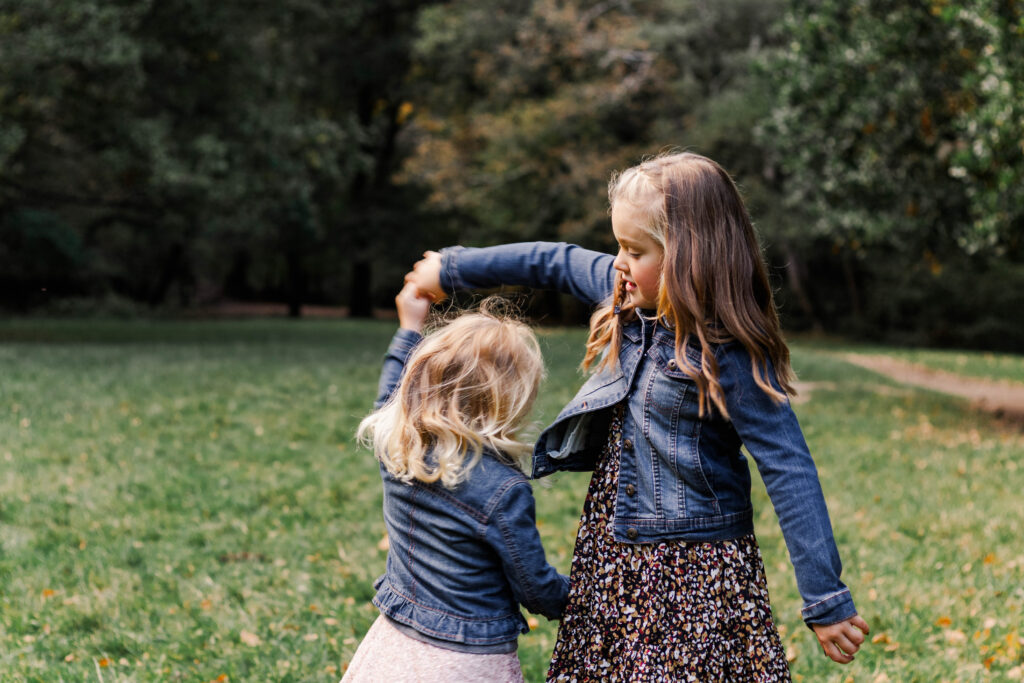
#5 Focus on the eye
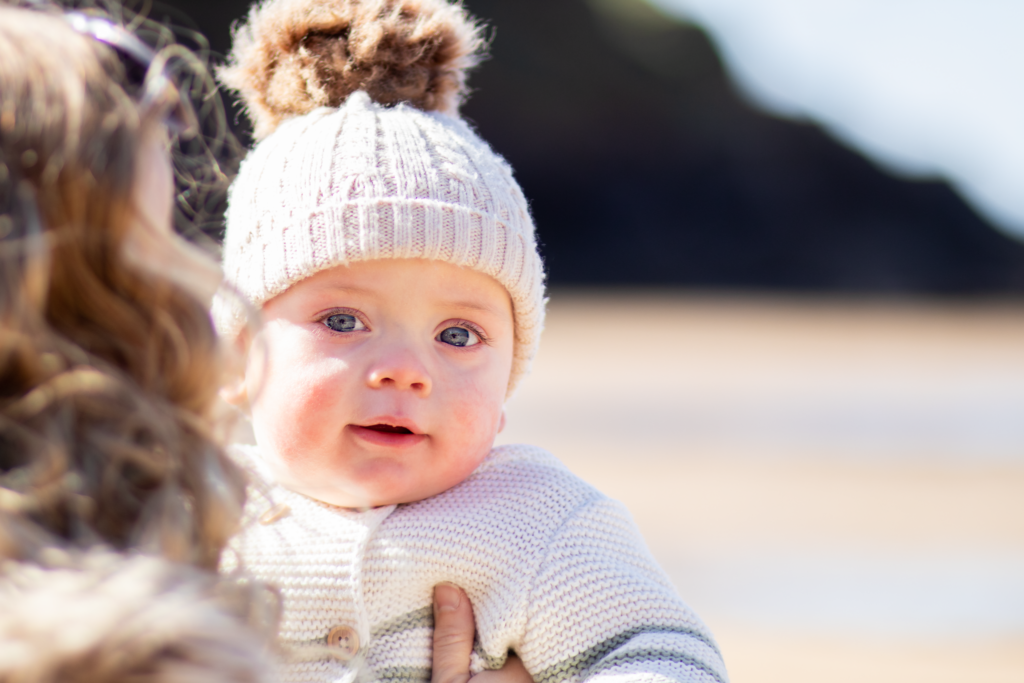
Maybe you’ve set your kids up for a portrait photo in a great spot, with fab light and they’re busy on a task, or laughing at your fart joke. The next thing you need to do is focus the camera, but where? A general rule of thumb is to use your camera’s ‘Autofocus’ function to find and (if it can) track the eye closest to the camera. When you think about it, this makes a lot of sense because when we talk to people, we look at their eyes. So, naturally when we take a picture of a person, it’s the eyes that we look at first too. If the nearest eye is in focus, you can get away with just about everything else in the image being out of focus.
#6 Change your perspective
See the world from their perspective. When photographing children, one super-impactful change you can make is just lowering yourself down to their level. Not only does it get you closer to the action, it also allows you to be eye-to-eye with the subject, which instantly creates a more powerful connection than looking up or down at a lens.
Whether you’re photographing your newborn, toddler, or tween, lower that camera. Or, alternatively raise them up! If getting down on the floor is not an option, find a way to lift them up higher to you. A step stool, carried in arms, sitting on the kitchen counter, at the top of a slide or climbing on a climbing frame are all easy ways to get eye-to-eye with your subject.
#7 Seek out natural frames
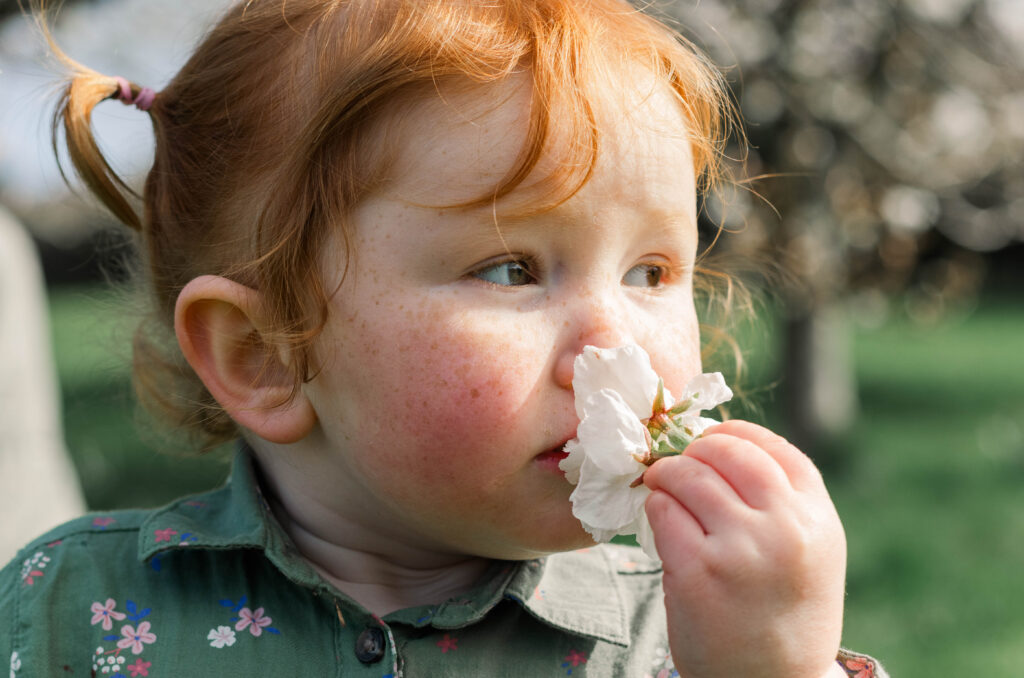
If you start to delve a little deeper into your photography and want to try something a bit more creative, a wonderful way to add depth and interest to your images is to start framing your subject. Now, I don’t mean going out and buying an actual frame for them to hold, which is fun but a bit gimmicky. I mean finding ways of naturally framing or channelling the eye towards your image.
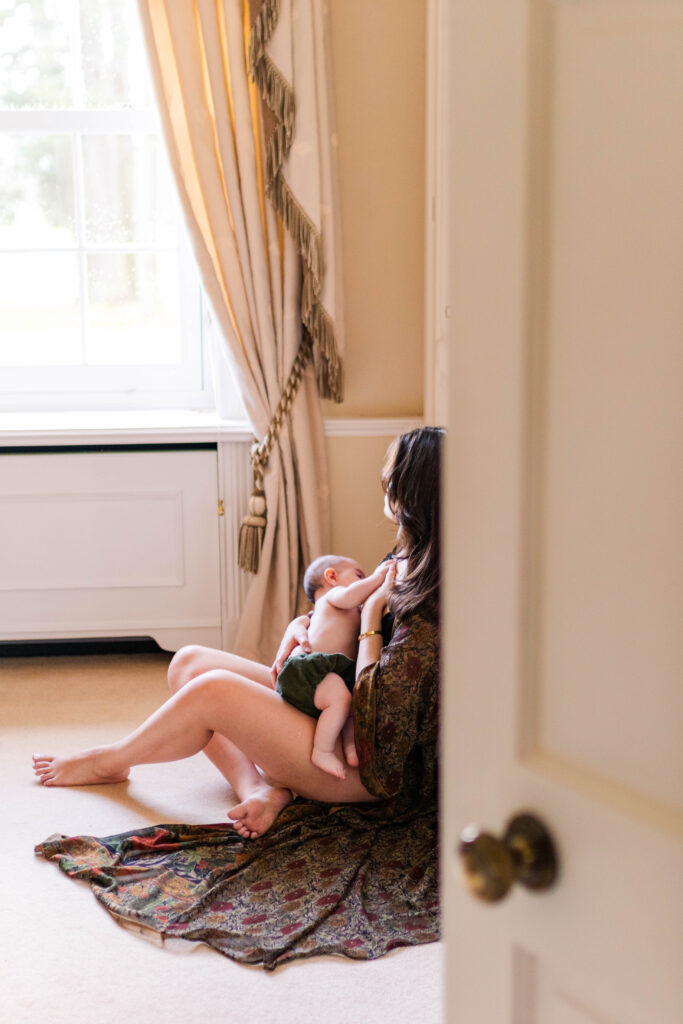
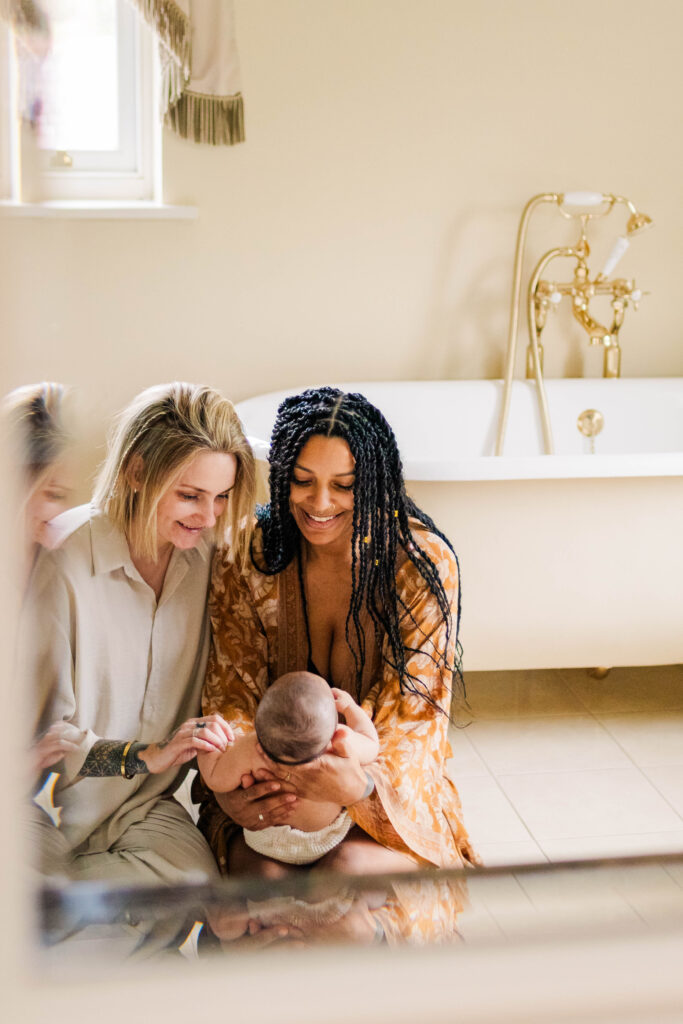
Some examples might be shooting through the bars of your baby’s cot, shooting through a window or slightly open door, or even framing a reflection in a mirror. By shooting through these natural frames and leaving a little bit of this ‘frame’ still in the shot, the eye is drawn into the image and really focuses on the key subject.
This doesn’t just apply to indoor photos. It can also work well with leaves, trees and foliage. It’s best to make sure that any foliage you’re shooting through is close enough that it’s fairly blurry, and your subject is further away and in focus.
#8 Get in close
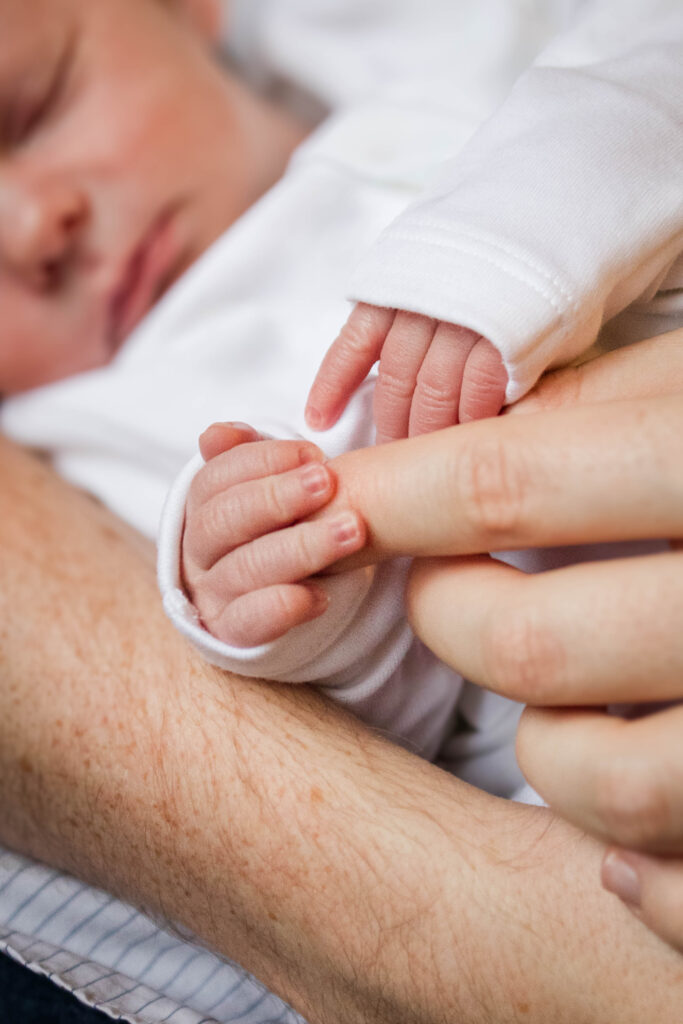
One of my favourite things when photographing children is capturing those tiny little details. This is especially true when shooting newborns, as they have lots of little wrinkles, tiny toes and fingernails and delicate peach fuzz hair.
As your children get older you may want to capture different details. Things like cute squidgy fat rolls, eyelashes, little curls at the nape of the neck or freckles. Taking the time to photograph these little things, to really get close and document what currently feels mundane, but may one day be a beautiful memory to look back on.

#9 Tell a story
Leading on from my last point – don’t forget to capture those everyday moments and find a way to tell a story. To explain this better, I want to give you some examples – little feet tiptoeing on the step stool by the basin whilst brushing teeth, hands clasped around a dripping ice cream cone, a flopping arm falling out as they’re being carried sleeping from the car. Each of these images tell the story of a moment in time, a powerful evocation of childhood and all the little memories that weave together to make it unique.
Sometimes an image can be all the more powerful because of what it doesn’t show, as much as what it does. Rather than being caught in the moment, try to think about the story you want to tell with your photo and the best way to do that. Remember, you don’t always have to photograph a face to capture a feeling!

#10 Switch to portrait mode
One thing I’m often asked by parents is “How do I create that lovely blurry background?” Without getting too technical with focal lengths, ‘f’ stops and compression, the basic idea is that the further away from a backdrop you place your subject, the blurrier the background will be. Certain camera lenses are designed to aid this blurring and create something called ‘bokeh’ which is when the items in the background become so blurry they end up looking like little discs of colour all fused together. It’s very pretty, and something photographers pay a lot of money to harness with expensive lenses and lots of practice.
At home, the simple solution to this is either to make sure you position your child in a space where there’s nothing behind them for a long distance. Or, alternatively if you’re using an Iphone, you can select ‘Portrait Mode’ (Android may have a similar feature). This will digitally blur the background for you. I say digitally because this effect is not quite the same, but for the purpose of taking a photo where the subject is focused and the rest is blurry, it works very effectively.
……………………………………………………………………..
So, there you have it – my 10 top tips to take your photos from ‘not bad’ to AMAZING! I hope you’ve enjoyed reading through and hopefully picked up some ideas to help you with everyday and special occasion photos. Childhood whizzes past so quickly and keeping track of precious memories – from the mundane to the extraordinary – is something you’ll never regret.
Get in touch to arrange a family, maternity or newborn photoshoot. Don’t forget to check out my Facebook, Instagram pages.
All the best, Georgia x
Leave a Reply Cancel reply
Hi, I'm Georgia
A Wedding and Family Photographer based in Somerset. Helping to capture memories and milestones through fun and relaxed photograph sessions is what it's all about. Telling your story with laughter, cuddles and genuine connection.
Thank you!
That should be on it's way to your inbox right now.
PLEASE COMMENT BELOW